ORBS, ORBS, and more ORBS!!!
Posted on March 3rd, 2014

If anyone has extra time and wants a challenge, this design blog is hosting one of their “Re-Covered” competitions. This one is a challenge to redesign the poster for the film, Battle Royale. You don’t really have to know too much to participate, though I think it’s pretty great and worth watching if you like this sort of movie.
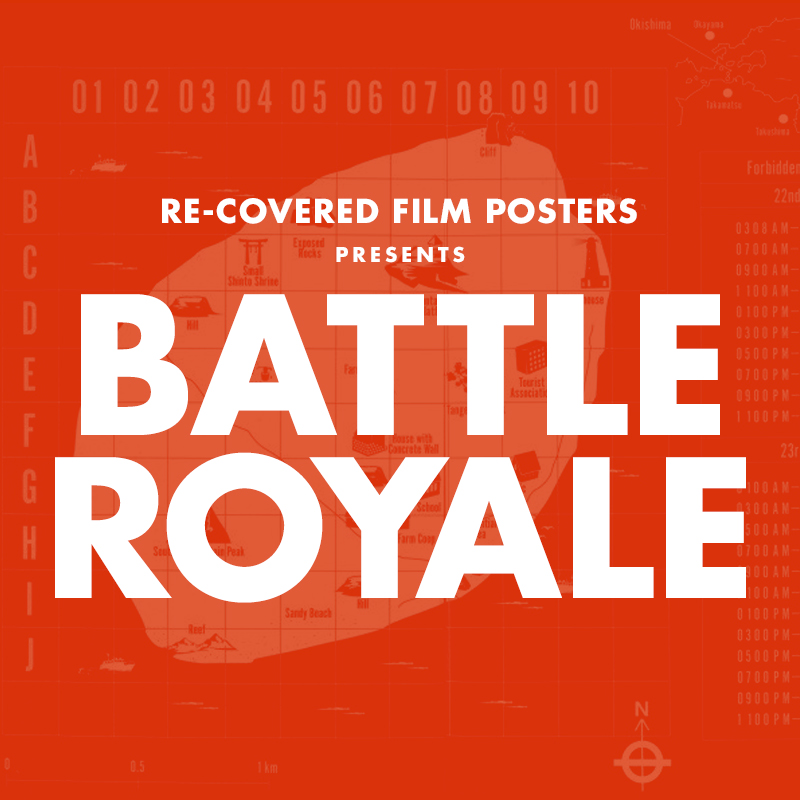
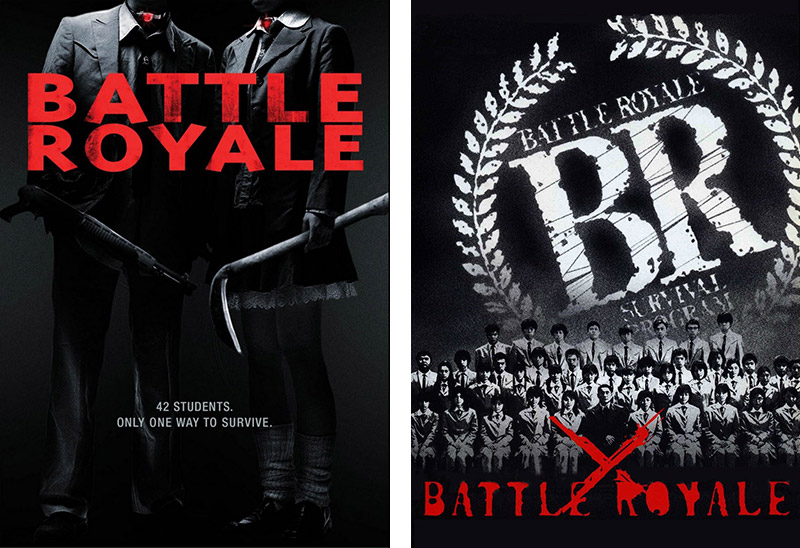
Here’s a link to the actual competition prompt (with guidelines and rules): BATTLE ROYALE RE-COVER COMPETITION.
And to look at their previous design challenges, click here.
It sounds like a cool extra project to work on, so I wanted to throw it out for anyone who might be interested!
I found this video inspirational, thought maybe some of you will too.
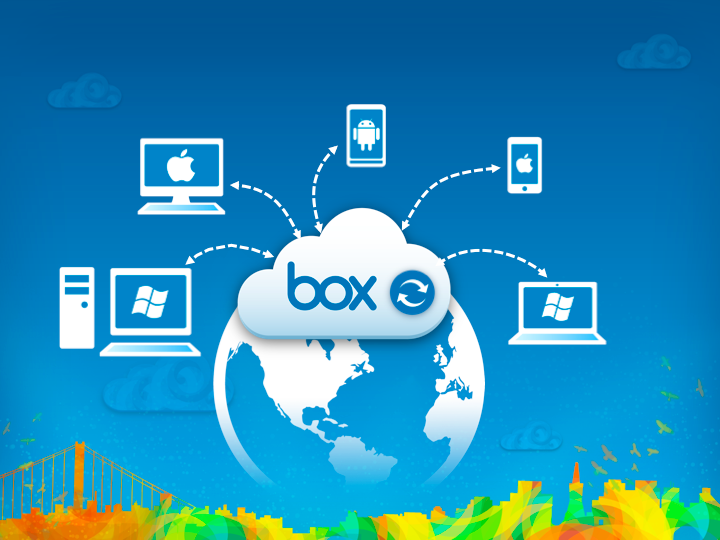
Box.net offering 50GB of storage free for life
There are free online cloud storage services with a limited amount of space (2-7 GB) where each cloud storage service has its own specifications to fit your personal or business needs. iCloud for Apple, SkyDrive from Microsoft, Dropbox, Box, etc. You can access many of these websites through your smartphone or tablet to upload and download.
Click on this link to see more descriptions for each cloud storage services: http://www.networkworld.com/news/2012/092512-free-cloud-262764.html?page=1
 Just a few years ago, Leatrice Eiseman’s classic Pantone Guide to Communicating with Color, published in 2000, was out of print. In 2006 Eiseman came out with a second book continuing her color explorations, Color: Messages and Meanings. By that time, used copies of the first color book were going for nearly $200, way too steep for all but the collector.
I recently saw Eiseman’s 2000 book pop up again on Print and How magazines’ mydesignshop.com website in their “Deal of the Century” category. While it’s a bit too soon to make a hundred-year claim, I have to admit, Print and How magazines are offering those interested in the study of color a truly smoking deal.
Treat yourself and your designer buddies to a priceless holiday gift that you can be sure will be a handy resource for years to come. I’m delighted that I’m able to replace my tattered copy held together by rubber bands with a brand spanking new book for just $4.99. That’s really has got to be the “deal of the century!”


