Old photos
Posted on February 1st, 2009 by nancy
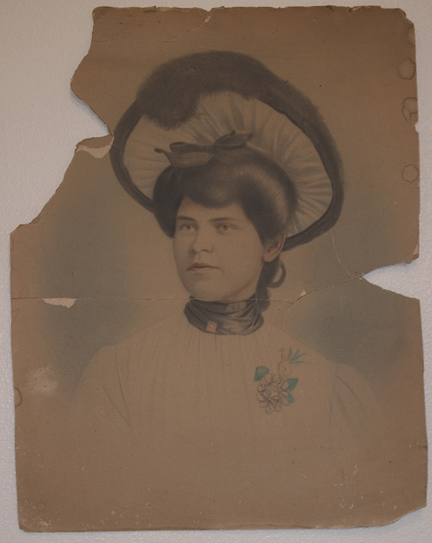
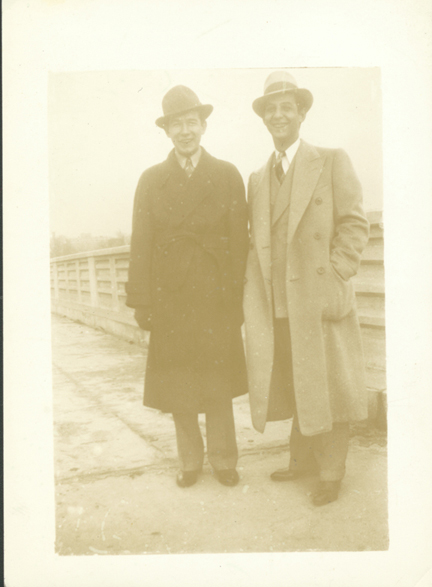
Use these photos in your retouching and colorizing exercises. They are relatively low resolution when compared to the files distributed in class, but if you’d like to practice, here they are for the downloading.
READING HOMEWORK:
You’ll want to read “Photoshop Magic.” This reading is a review of Thursday’s class. The images are from an older version of the Photoshop; hopefully you won’t have difficulty following along.
File formats and compression are reviewed in this reading.
Scanning Guidelines reviews scanning.
13 Comments
Discussion | Share Feedback
You must be logged in to post a comment.


Hey Nancy; I am running into problems trying to email you. I am loving this project and I want to share with you what i’ve done. But my emails keep getting rejected. Is there something I’m doing wrong?
My guess is that the file you are attaching to the email is probably too large. As a rule of thumb, you can expect problems with files over 1 mb. Try downsampling a copy of the image in Photoshop using the Image>Size menu. When you Save for Web and Devices, you can compress the file even further…the idea is to get the compressed file under 1 mb. Try that and see if it makes a difference.
I am having trouble trying to figure out how to start the Pretty Lady at home. I thought i would try to practice the steps by doing it again but I must be missing something. Here is what I did…
I open a new document which has a transparent background. I “open” the pretty lady photo, crop and straighten. I make a selection with the pen tool, select the path, inverse and cut (delete does not work on my Mac). The background disappears and I am left with a white background. I adjust the levels and select all, copy merge, paste.
I create a new layer and draw and fill an ellipse but when I try to put this layer behind the cutout of the Lady, I find that the Lady has a white background. How do I get a solid cutout of the Lady onto a transparent background! I managed to get a transparent cutout of the Lady on a transparent background…HELP!
Lauren,
Thanks for providing such a clear description of your process.You have a couple of different things going on that got you in this pickle.
Your first step was to create a document with a transparent background. Then you abandoned it…but you knew you were going to need a tranparent background, so I can see where you were going with it. You won’t need this file.
Next, you opened the “Lady.” Open a fresh copy of the file and look at the name of the only layer in the layers palette. Create a new layer, and notice the appearance of it’s name. How are their appearances distinguished from each other?
It’s these differences– and visual clues–that tell you how the layers behave.
The long and the short of it:
Double-click on the background layer…this unlocks it and allows you to name it. After you do, the name is no longer italicized. It’s now a transparent layer, instead of a solid, background layer. Remember on an opaque layer when you delete or cut, it fills with the background color (look at your foreground/background color swatches).
Once you fix the transparency issue, the rest should fall into place.
Hello Nancy:
Can you please either upload or email the blank worksheet that we submit in our folders with our print projects? I used one and can’t seem to find the other that I was supposed to make copies of! Thanks… Kimberly
For all who need it, there is a link to a pdf of the assignment sheet now on the blog at the top of the entries…I’ll work on making a permanent link in the “Extras.”
[…] of scanning and retouching images. In preparation for this lesson, the this link provides the reading homework and files you can download for […]
[…] explorations by talking about scanning, retouching and colorizing images. The link here provides reading assignments and assistance in understanding the basic processes involved in photo […]
[…] this link for the reading assignments. Retouching and repairing old or damaged photographs provides practice […]
[…] Photo Retouching Assignment – Use this link to access the reading assignments associated with Photoshop and the photo retouching exercises […]
[…] damaged photos at home and if they are approved, you can work on your own images in addition to the practice files […]
[…] Retouching Exercises […]
[…] Retouching Exercises […]